
Last updated November 21, 2026
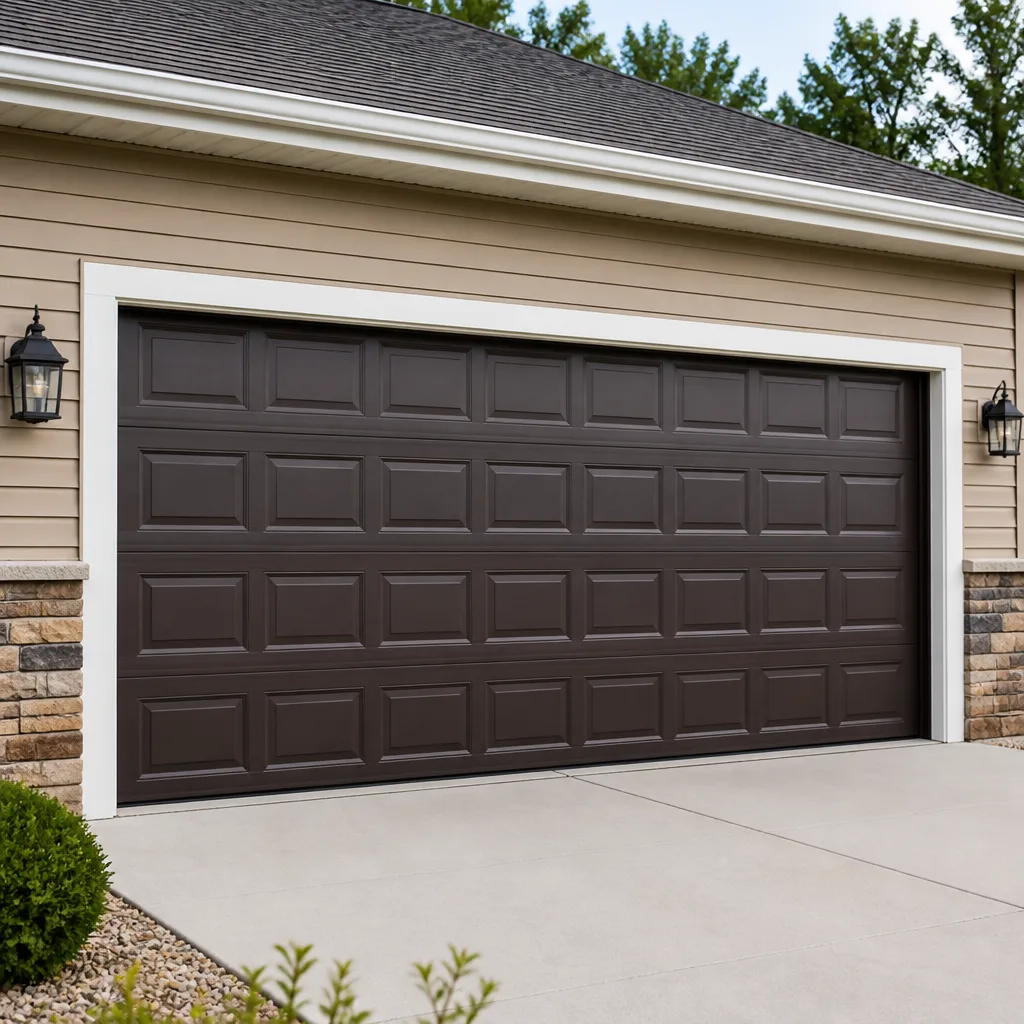 Raised-panel steel
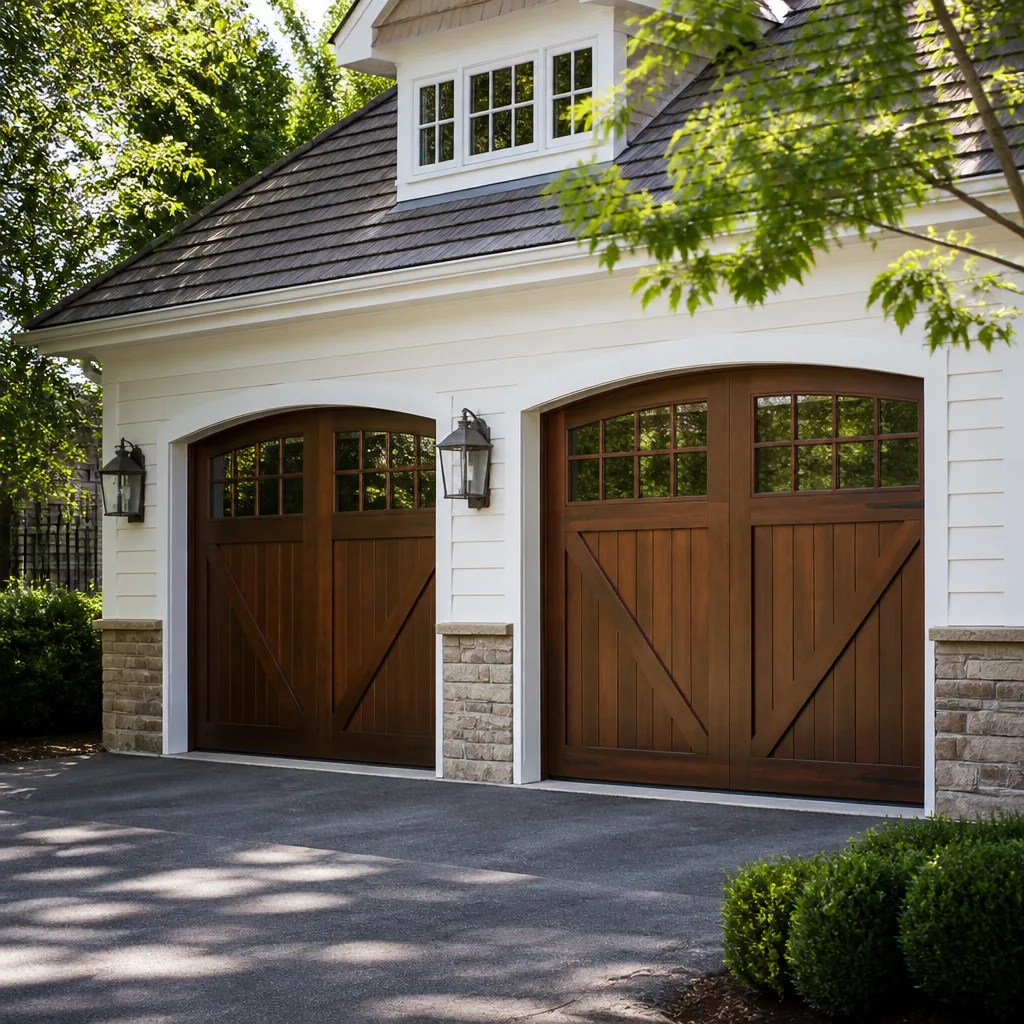 Carriage house
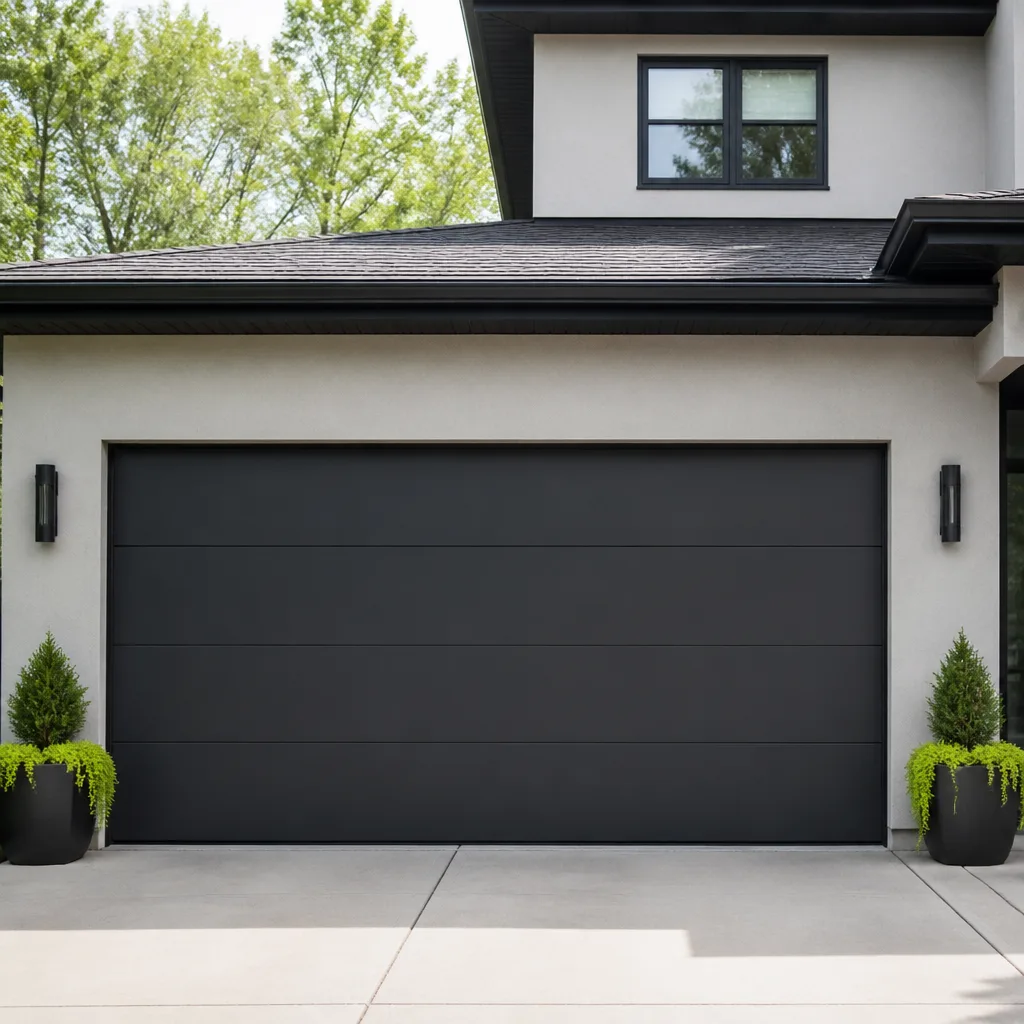 Modern flush
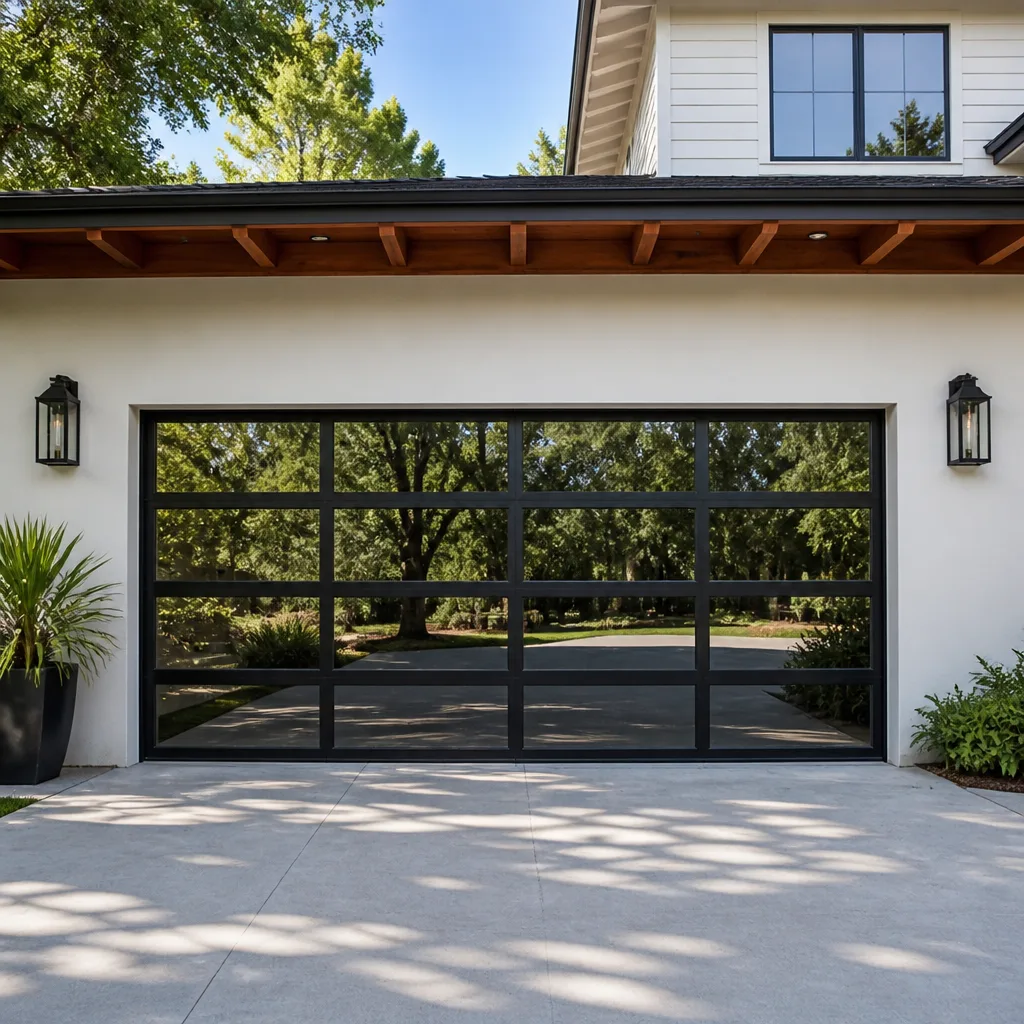 Full-view glass
 LiftMaster openers
 Chamberlain openers
Full 25-point door and opener safety check with every visit - springs, cables, rollers, tracks, and your LiftMaster or Chamberlain opener included
You get a price before we start. It does not change when the pro arrives.
Get your free estimateGarage Door Repair Maintenance Checklist for Mount Greenwood Homeowners
The most common maintenance mistake we see on Mount Greenwood garage doors isn’t skipping lubrication. It’s lubricating the wrong parts. Spraying a general-purpose solvent like WD-40 onto torsion spring coils feels productive, but it dissolves the factory coating that protects the steel and actually speeds up corrosion. The same mistake shows up on nylon rollers, painted tracks, and opener rails. A garage door is not one machine; it’s at least six systems wearing at different rates, and each one wants different treatment. This checklist separates them out, marks what you can safely do yourself, and marks what belongs to a trained technician.
Quick Answer
A safe homeowner garage door maintenance checklist covers the parts you can see and reach: lubricate hinges, rollers, and the opener chain with the right product; wipe the tracks clean; inspect cables and rollers for wear; test the door’s balance by hand with the opener disconnected; and check the opener’s reversal sensitivity monthly. Never touch torsion springs, cables, or the bottom bracket. Those carry high tension and cause serious injury in untrained hands. Spring, cable, and bracket work belongs to a garage door specialist with the right tools.
Styles & brands we work with
- Raised-panel steel
- Carriage house
- Modern flush
- Full-view glass
- LiftMaster openers
- Chamberlain openers
Table of Contents
- The Component Map: What You’re Actually Maintaining
- Springs: Technician-Only, Every Time
- Cables and Brackets: Visual Inspection Only
- Rollers and Hinges: The Owner-Safe Zone
- Tracks and Weather Seal
- The Opener: Monthly Tests and Yearly Checks
- Seasonal Timing for the Chicago Freeze-Thaw Cycle
- Visual Signs of Imminent Failure
The Component Map: What You’re Actually Maintaining
A residential garage door has five major systems working together, and each one fails in its own way. Torsion spring systems sit on a shaft above the door and twist to counterbalance the door’s weight. Extension spring systems stretch along the horizontal tracks instead. Both store enormous force. Cables run from the bottom corners to the springs and carry that force. Rollers ride inside the vertical and horizontal tracks and take constant load. Hinges connect the panels and let the door flex around the curve. The opener is a separate mechanical system entirely, and the weather seal is the barrier between your garage and Mount Greenwood’s weather.
Owner-Safe vs. Technician-Only: The Line
Here’s the division we use, and it doesn’t move based on how handy a homeowner is:
- Owner-safe: lubricating hinges, rollers, and the opener chain; cleaning tracks; inspecting and replacing the weather seal; testing balance and reversal by hand; wiping down panels.
- Technician-only: anything involving springs, cables, the bottom bracket, the torsion shaft, or the drums at the ends of the shaft. Also replacing rollers that require loosening the track, and adjusting track brackets that carry load.
The reason is simple physics. A torsion spring under tension holds hundreds of pounds of stored energy, and releasing it improperly can cause a hand injury faster than a person can react. This isn’t a scare tactic; it’s a mechanical fact that every honest garage door specialist in Mount Greenwood will tell you. The rest of the checklist is designed so you get real maintenance value without ever being near that stored energy.
Springs: Technician-Only, Every Time
Springs are the heart of your door’s balance, and they’re also the only component on this list we won’t describe how to touch. If your garage door feels heavy when you lift it by hand, sounds like it’s straining when the opener runs, or you can see a visible gap in a torsion spring coil, the spring is the likely cause. A trained technician identifies which type of spring system you have, checks the coil count, and replaces the spring with a matching rating. A spring that’s undersized or oversized for the door’s weight will wear out early and put extra load on the opener.
Two things a homeowner can do safely: look and listen. Look at the torsion spring above the door for a visible gap in the coil, which means it has broken. Look at the extension springs along the horizontal tracks for stretched gaps or a missing safety cable. Listen for a loud bang from the garage, then a door that won’t open. Those are the classic spring failure signs, and they mean a call, not a repair attempt.
The Coating Mistake
This is the one we started with, and it deserves its own note. Torsion spring coils come from the factory with a coating that resists corrosion. Solvent-based sprays break that coating down. If you’ve been spraying WD-40 on your springs, stop, and don’t try to “fix” it with more product. Let a technician look at the spring’s condition. If the coils are already pitted, replacement is the honest answer, and that’s a garage door repair we handle as a core service rather than a referral.
Cables and Brackets: Visual Inspection Only
Cables fray, and a frayed cable can snap under load. You can inspect cables with your eyes, and you should, but you should never loosen a cable, adjust a cable drum, or reach into the bottom bracket area. Here’s what to look for during a visual inspection, standing safely to the side of the door with it fully closed:
- Fraying: Look for broken strands sticking out from the cable. Even one broken strand is a warning sign that leaves the cable weaker than designed.
- Kinks or bends: A sharp bend in the cable usually means the drum has been dragging or the cable has jumped.
- Rust: Surface rust on a cable in Mount Greenwood’s humid summer months is common; pitting or heavy rust that reduces the cable’s diameter is not.
- Slack: A cable that hangs loose on one side of the door while the other side is taut signals a balance problem that needs a technician.
- The bottom bracket: Look for cracks or deformation, but don’t put a wrench on it. That bracket holds the cable under tension.
If you see fraying, kinking, or a damaged bottom bracket, stop operating the door and call a specialist. Cables are under the same stored force as springs. That’s why garage door repair Mount Greenwood handles them together with spring work.
Rollers and Hinges: The Owner-Safe Zone
This is where your own maintenance effort pays off. Rollers and hinges take the constant grinding load of every open and close cycle, and they respond well to the right lubrication. Here’s the correct product for each:
- Metal rollers and hinges: white lithium grease or a garage-door-specific spray lubricant. Apply a light coat to each hinge knuckle and the bearing surface of each roller.
- Nylon rollers: silicone spray, not grease. Grease attracts grit that abrades nylon. Silicone keeps the roller gliding without collecting debris.
- Torsion spring coils: nothing. No product. See above.
- Tracks: nothing. Tracks should be wiped clean with a damp cloth. Grease in a track turns into a magnet for Mount Greenwood’s leaf litter and grit.
- Opener chain or belt: a light chain lubricant for chain drives; belts typically need nothing. Check your opener manufacturer’s guidance for your model.
While you’re at the hinges, look at each one. A hinge with a slit worn through the metal, or one that lets a panel shift relative to its neighbor, needs replacement, not more grease. On older doors, particularly Craftsman and Wayne Dalton models, hinge wear is often the first sign the door has been under-maintained for years. Rollers themselves often show flat spots or a wobble that you can feel by rocking the roller by hand; if a roller wobbles in its housing, that’s a replacement and often a job for a technician since rollers are usually swapped with the track loosened.
Tracks and Weather Seal
Tracks are the door’s guide rails, and they’re sturdier than people give them credit for. The most common issue is a dent or bend from a car bumper or a loaded recycling bin, and any bend that narrows the track creates friction every cycle. You can clean tracks with a rag. You should not bend them back with a hammer or a pry bar; a distorted track is a load-bearing problem. Here’s your simple track check, done with the door closed:
- Look down each vertical track from a few feet away. Both sides should be parallel and straight.
- Look for visible dents, especially on the side facing the driveway.
- Check that the track brackets are firmly attached to the wall; loose brackets cause tracking problems that only a technician can set right.
- Wipe the track surfaces clean with a damp rag, and don’t apply lubricant.
The weather seal along the bottom of the door is the most neglected part on the list and the one most affected by local conditions. Mount Greenwood winters drive freeze-thaw cycles against the seal, and a cracked or hardened seal lets in cold air, water, and small pests. Replacement is a homeowner-friendly job on most doors: the seal slides or pulls out of a channel in the bottom section. Look for cracks, flattening, or daylight visible under the door when closed. Also inspect the side and top seals if your door has them.
The Opener: Monthly Tests and Yearly Checks
Your opener is the one system where monthly testing is genuinely worth the two minutes. Failure to reverse is the single most important safety function to verify, and it’s easy to check without touching the spring system or any moving part above the door.
The Reversal Sensitivity Test
This is the test we recommend once a month:
- With the door fully open, place a roll of paper towels or a piece of 2×4 flat on the floor in the door’s path.
- Press the wall control to close the door.
- The door should contact the object and reverse to the open position immediately. If it stops and stays down, or presses the object to the floor, the opener’s force limit or sensitivity needs adjustment.
- If your opener has a photoelectric safety beam (most current models do), wave an object across the beam with the door closing and confirm the door reverses.
Adjusting the force limit on a LiftMaster or Chamberlain opener is usually a dial or screw on the motor housing, but if you can’t find the correct setting, a technician can. Repeated false reversals or a door that won’t reverse point to a force limit problem, worn rollers, or a balance issue. Brand-specific diagnostics matter here: a LiftMaster Logic board responds differently than a Genie or a Legacy Craftsman opener, and a technician familiar with those platforms finds the issue faster than a generalist.
The Manual Balance Test
This one tells you whether the springs are still doing their job:
- Close the door and pull the red manual release cord to disconnect the opener trolley.
- Lift the door by hand to about halfway.
- Let go. A properly balanced door stays in place.
- Lift it to full open and lower it to closed. It should move with steady, even effort and no shaking or sudden drop.
- Reconnect the trolley by pulling the door toward the opener until it locks in.
A door that feels heavy going up, drops on its own, or hangs halfway, signals a spring or balance issue. That’s a technician call, not a lubrication job. If you’d rather not test balance by hand or the door feels stubborn, schedule garage door opener repair or a spring inspection instead.
Seasonal Timing for the Chicago Freeze-Thaw Cycle
Mount Greenwood is on solid Midwestern ground, and that means your garage door works harder in two stretches of the year than the rest of it: the first hard freeze, and the spring thaw. Timing your checklist around those two transitions does more for your door than an annual tune-up in July.
Before the First Hard Freeze
- Inspect the weather seal along the bottom for cracks and flattening, and replace it if it’s dried out.
- Lubricate hinges and rollers again if it’s been six months. Cold thickens grease, so a light coat goes further than a heavy one.
- Test the reversal sensitivity while the door is still easy to move; a stiff, cold-weather door that fails to reverse is a warning sign.
- Look closely at the cables for fresh rust, which comes from condensation and salt tracked in from the road.
- Check for daylight under the door on a bright day. Gaps widen as the seal hardens in cold.
After the March Thaw
- Recheck the weather seal. Freeze-thaw cycles can debond the seal from the bottom section and warp the threshold.
- Look for water staining on the garage floor or door bottom; it tells you where the seal failed over the winter.
- Wipe the tracks clean of accumulated grit from winter road spray and leaf litter.
- Recheck the balance test. Doors often feel heavier in spring if the springs have worn through the winter.
- Test the opener’s force limit again. Cold-set force limits can run the door harder in spring than it needs.
If you’re planning to replace the door itself after the season, a proper garage door installation is measured and scheduled rather than rushed, and any door you’re considering should be measured against your existing opening before ordering.
Visual Signs of Imminent Failure
Most garage door failures give warning. The skill is knowing which warning means “next month” and which means “stop using the door now.” Here’s how we sort them, and yes, we’ve seen the difference matter for homeowners in Mount Greenwood more than once.
Stop Using the Door Today
- A visible gap in a torsion spring coil: the spring is broken. The door may still open if the opener is strong enough, but it’s lifting far more than it was designed to. Stop.
- Frayed cable with broken strands: the cable can snap without warning.
- A bent or cracked bottom bracket: this holds the cable under load and is a known hazard.
- A door hanging crooked: one side is unbalanced, which means a cable or spring is failing.
- A loud bang followed by a dead door: classic spring failure. Stop operating the door and call.
Schedule a Visit Soon
- Rollers with flat spots or a wobble: the door is grinding instead of rolling, which wears the track and the opener.
- Hinges with visible wear: panels that shift slightly relative to each other.
- Rust streaks on cables: cables are weakening even if they’re intact.
- A door that runs noticeably louder than a year ago: usually rollers or hinges, sometimes a loosening track bracket.
- The opener reversing for no apparent reason: a force limit or beam alignment issue.
If you notice any of the second group, that’s a good point to gather your door’s brand details, get a repair estimate, and plan the work before it becomes urgent. If you see any of the first group, that’s a call now.
Common Mistakes to Avoid
- Spraying WD-40 (or any solvent) on torsion springs. It strips the factory coating and speeds corrosion. Use nothing on springs, and let a technician assess their condition.
- Greasing the tracks. Track grease collects grit and turns into a grinding paste. Wipe tracks clean and leave them dry.
- Adjusting the opener’s force limit to force a heavy door up. That force limit is a safety device. If the door is heavy, the problem is springs or balance, not the opener.
- Ignoring the weather seal through a Mount Greenwood winter. A failed seal lets water and cold air in all winter and is one of the cheapest, most effective fixes on the list.
- Replacing the opener when repair would do. A clicking LiftMaster or a recalcitrant Legacy Craftsman unit often needs a component, not a whole new opener. Brand-specific diagnostics save real money here.
- Replacing the door when the springs are the problem. If the panels and tracks are sound, restoring what you have is the right call.
- Testing the door’s balance or reversal by leaning on the door or pulling on the spring shaft. The only safe balance test is the manual lift with the opener disconnected.
See the difference
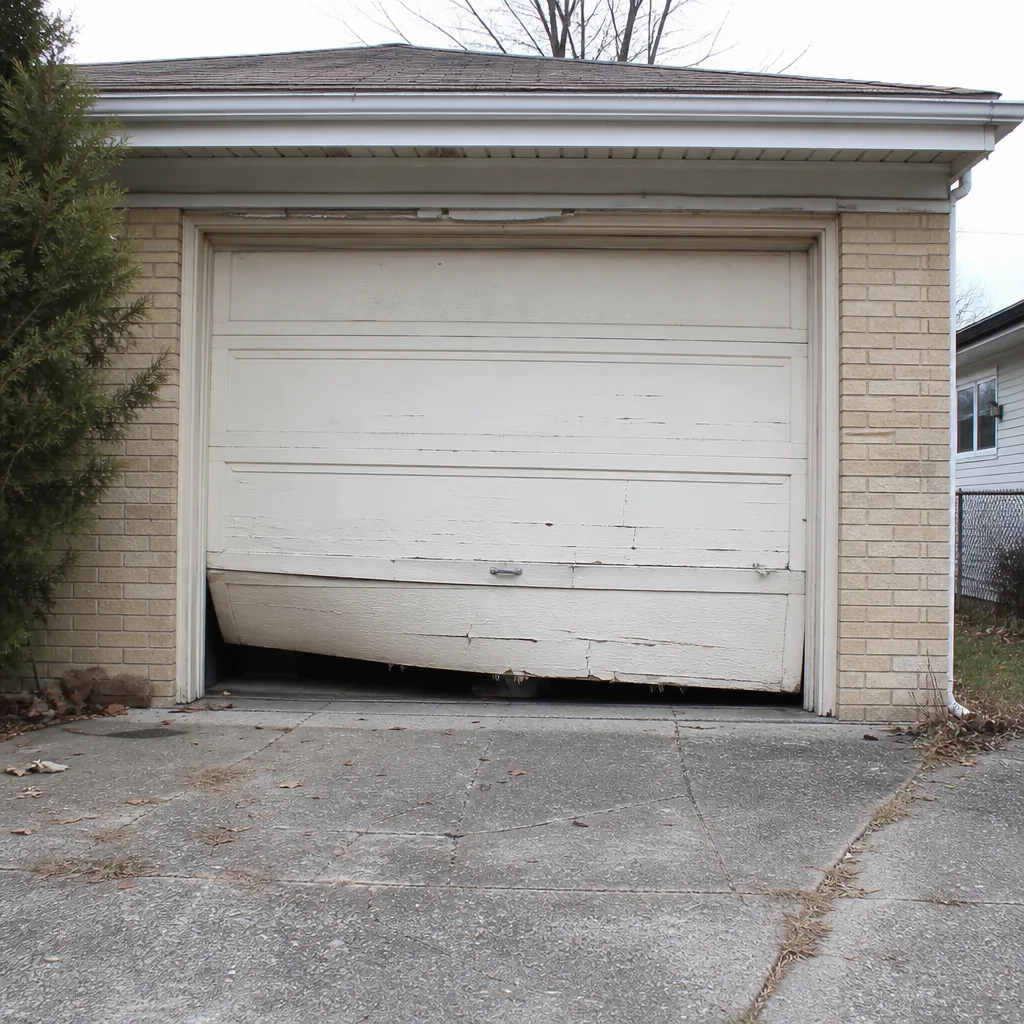 Before
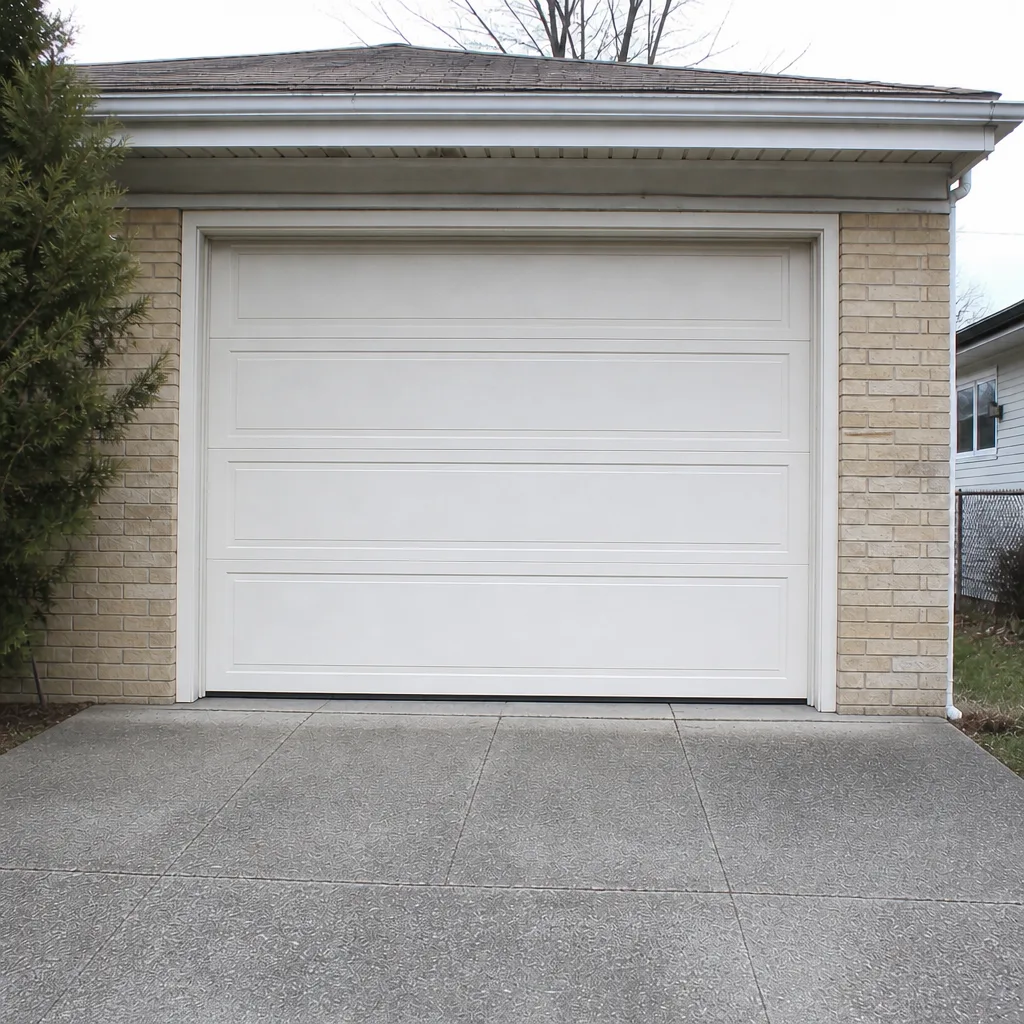 After
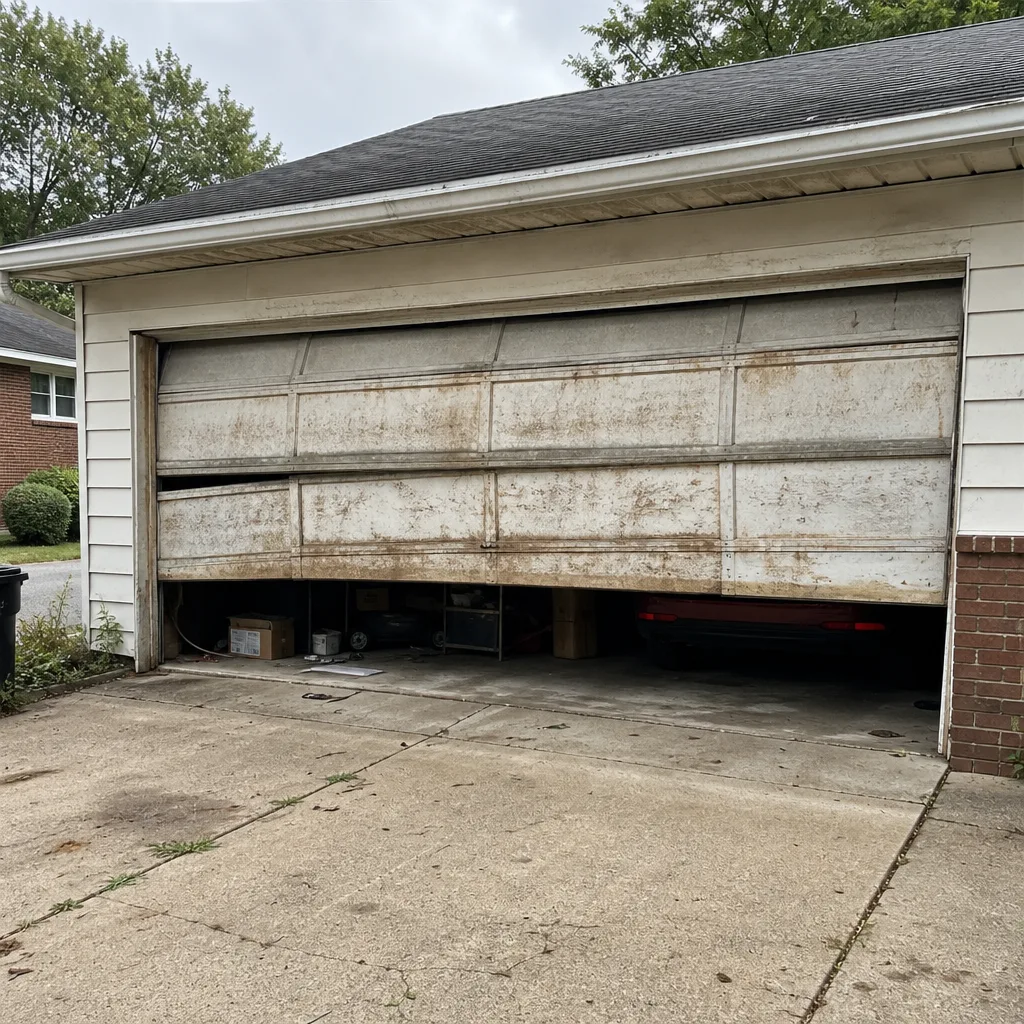 Before
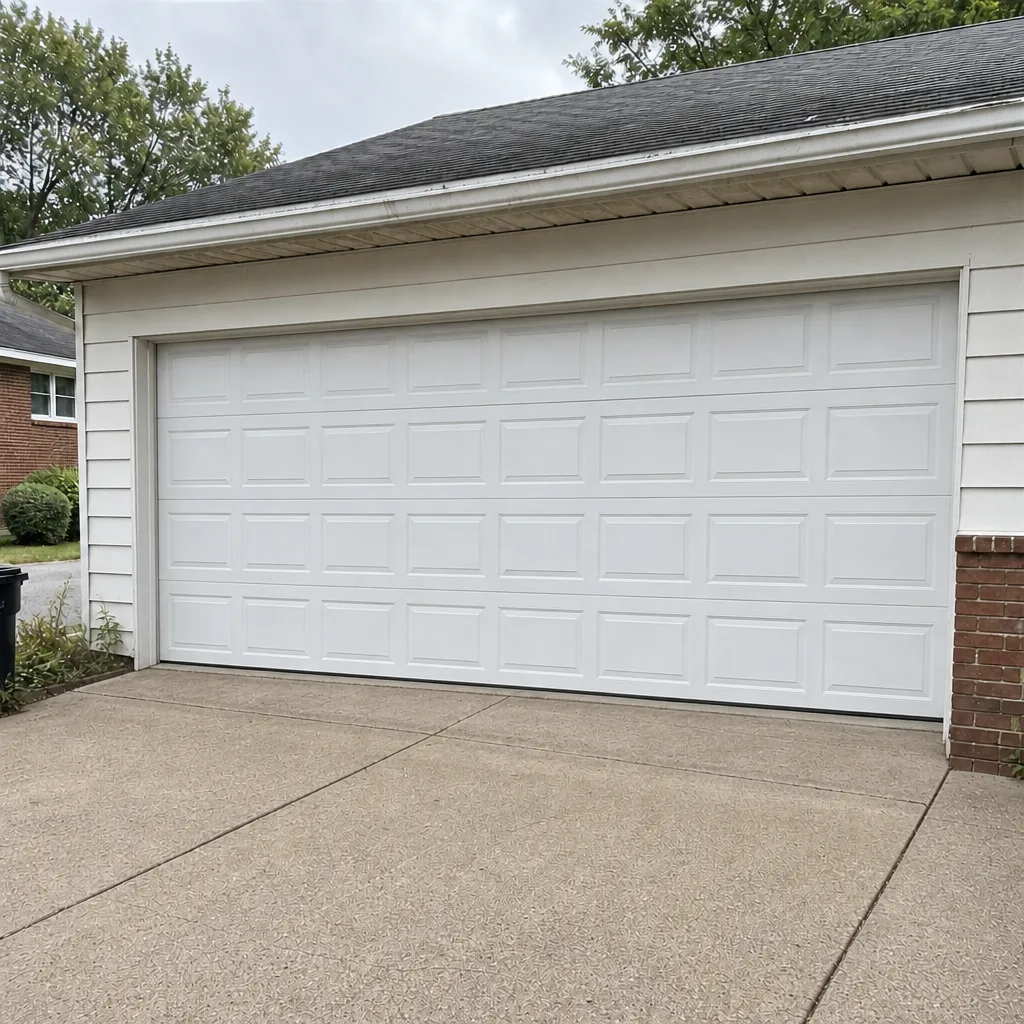 After
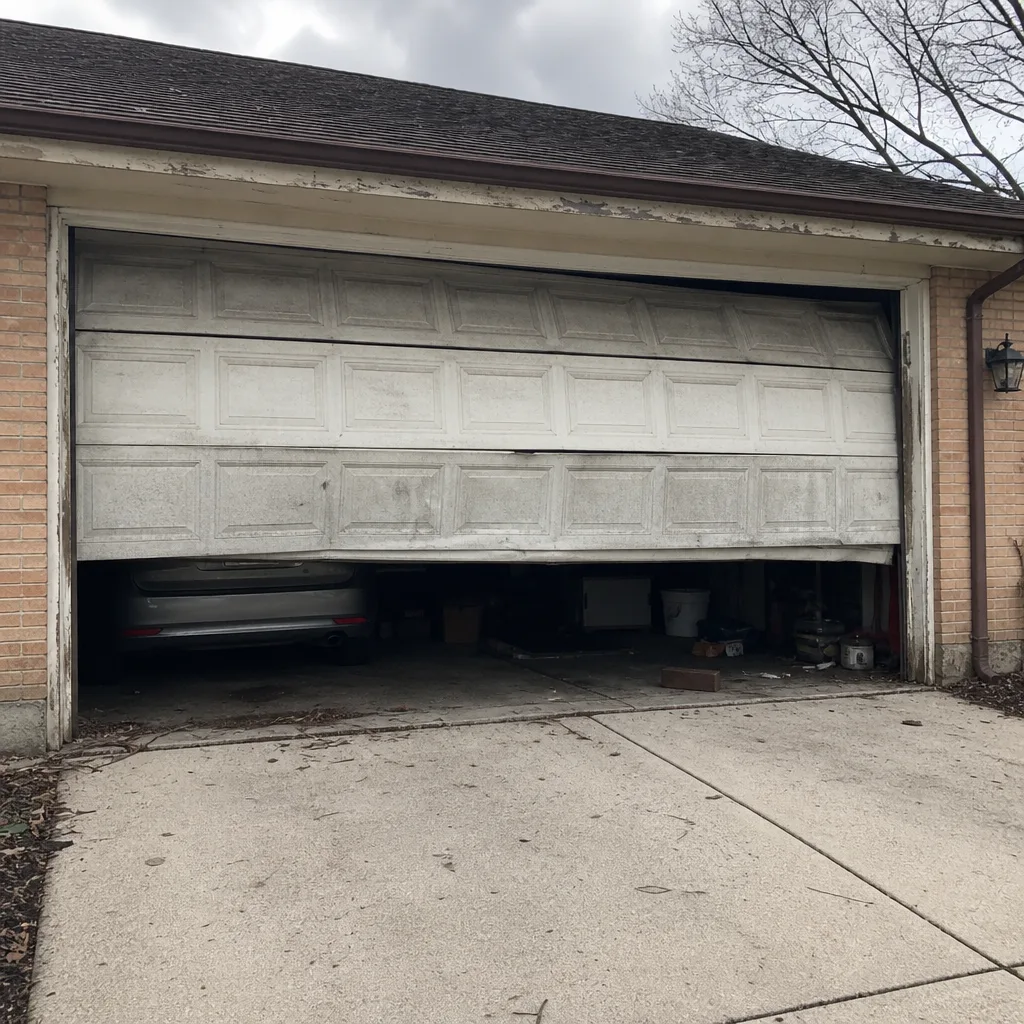 Before
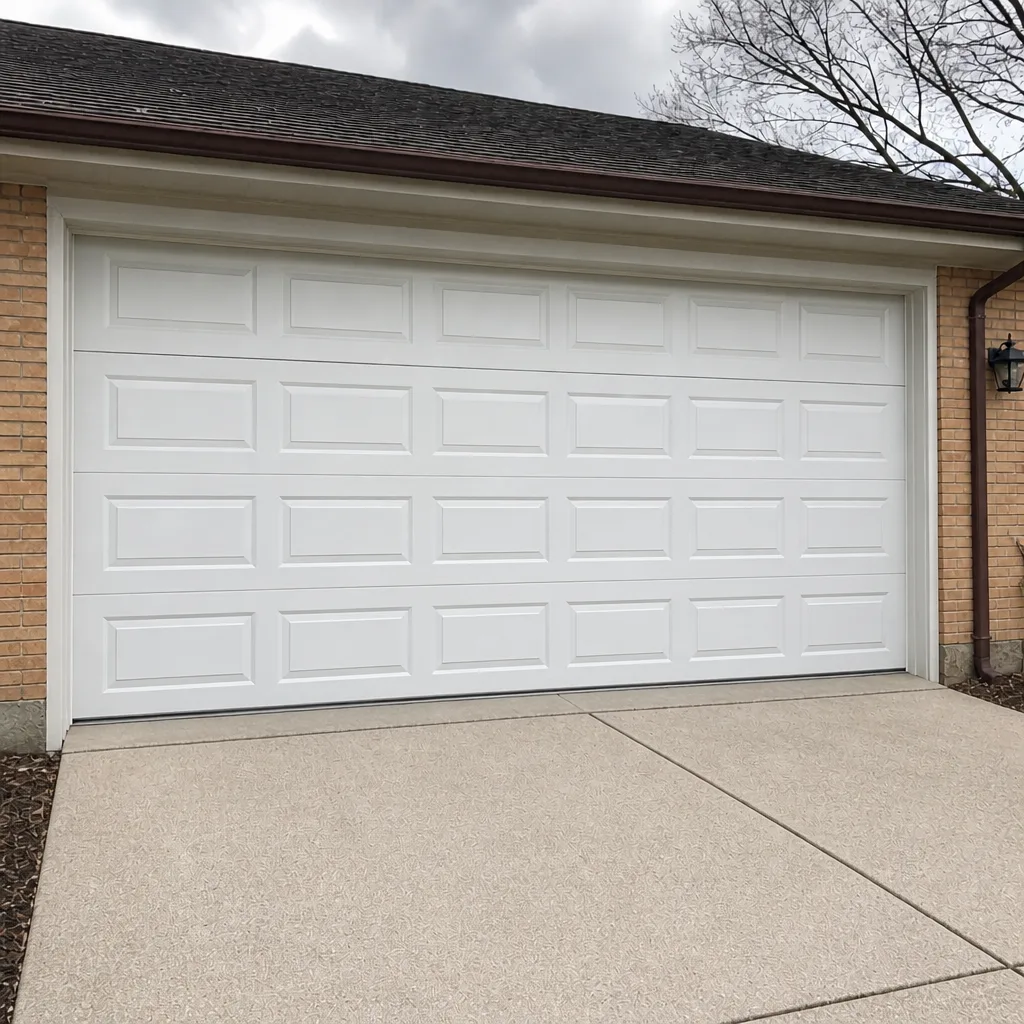 After
When to Call a Professional
Call a specialist the moment any item in the “Stop Using the Door Today” list appears, and call when a visual inspection shows fraying, kinks, or a bent bracket. Also call when the balance test feels wrong, when a door hangs crooked, or when the opener won’t reverse despite a clean track and fresh lubrication. And call when you’re not sure. A qualified garage door specialist can look, diagnose, and tell you plainly whether you need a repair or a component, without a hard sell. We work with the eight major brands, including Clopay, Amarr, and Wayne Dalton, so a door of any common make gets a proper diagnosis rather than a guess. Mount Greenwood homeowners can call (855) 914-9447 for a free estimate, and we answer 24/7 with fast dispatch from 7am to 7pm, Sunday through Friday.
Frequently Asked Questions
Once a year for a professional inspection, plus a monthly homeowner check of balance and reversal. The monthly check catches small issues before they become a broken spring or a worn cable. Annual timing is best just before the first freeze in Mount Greenwood, so the spring inspection and weather seal are done while the door is still easy to operate.
No. Torsion springs come with a factory coating that protects the steel, and any solvent-based spray dissolves it. Keep every product off the springs and let a technician assess their condition. Lubricate only the hinges, rollers, and the opener chain, and use the right product for each.
The owner’s role is the same for both: look and listen, never touch. Torsion springs sit above the door and show failure as a visible gap in the coil. Extension springs run along the horizontal tracks and show failure as stretched gaps or a lost safety cable. Both store dangerous force, so any repair is a technician’s job.
It depends on the roller. Replacing a roller usually means loosening the track or the hinge plate it sits in, which puts load on the door and is safer for a technician. Lubricating rollers is a homeowner job; replacing them is better scheduled with a specialist who can check the hinge and track alignment at the same time.
Yes. The freeze-thaw cycle is the main driver. Check the weather seal and cables before the first hard freeze and again after the March thaw. Cold stiffens grease and hardens rubber, so the seal and the door’s balance get more attention than in a climate with steady temperatures.
Look for broken strands sticking out, kinks, or heavy rust that reduces the cable’s diameter. A cable that’s frayed is weaker than designed and can snap. Stop operating the door and call a specialist. Don’t try to tighten, loosen, or replace a cable yourself, because it carries the same stored force as the springs.
The Bottom Line
The right checklist for a Mount Greenwood garage door is split by component, not by convenience. Lubricate hinges and rollers with the correct product for each, wipe tracks clean, and never spray a solvent on the springs. Inspect cables and brackets with your eyes only. Test the door’s balance and the opener’s reversal monthly, and let a technician handle anything involving stored spring force. Time the deeper checks around the freeze and the thaw. Parts matter too: rollers, hinges, and seals are all replaceable components, and a specialist who carries parts avoids the order-and-wait cycle that leaves a door out of service for a week. If a check turns up something you’re not comfortable with, that’s what we’re here for. Call (855) 914-9447 for a free estimate. We answer 24/7, with fast dispatch from 7am to 7pm, Sunday through Friday.
Written by the team at Garage Door Repair Mount Greenwood.