
Last updated November 21, 2026
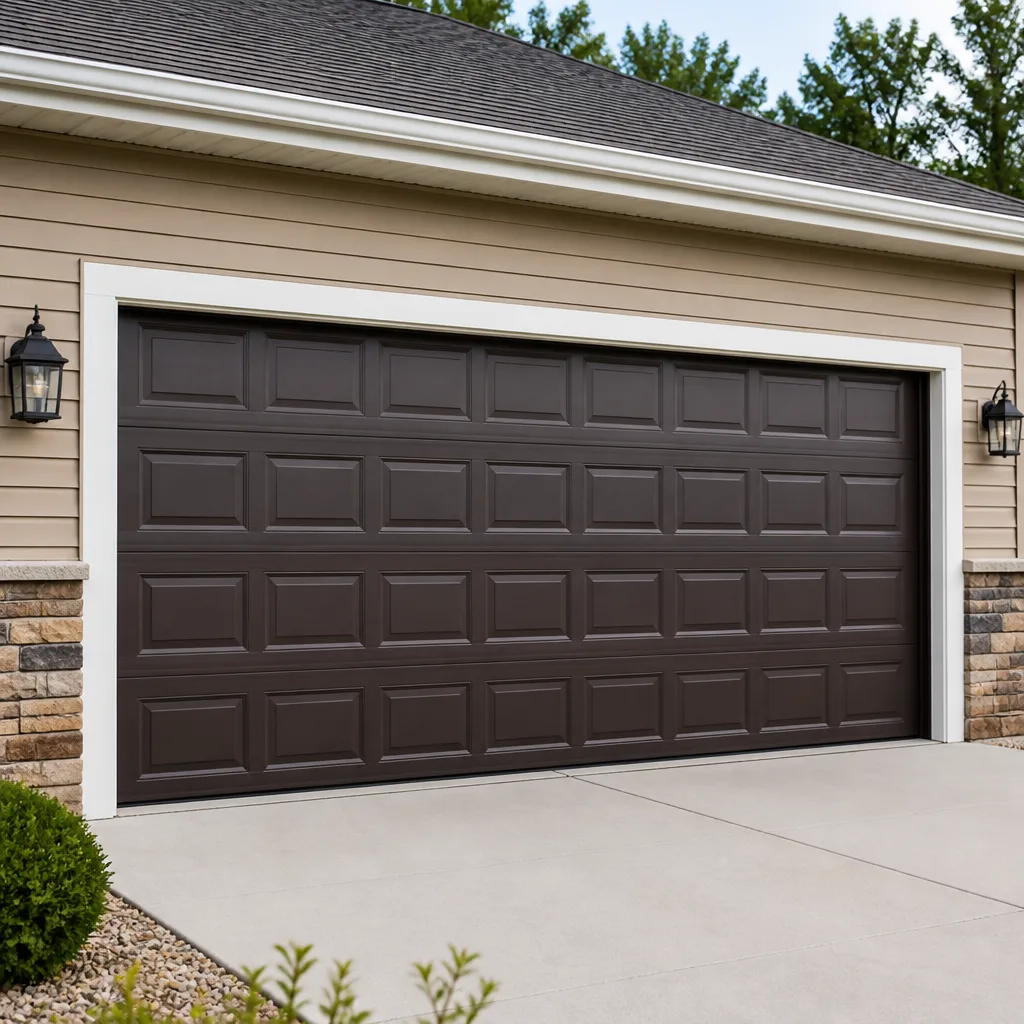 Raised-panel steel
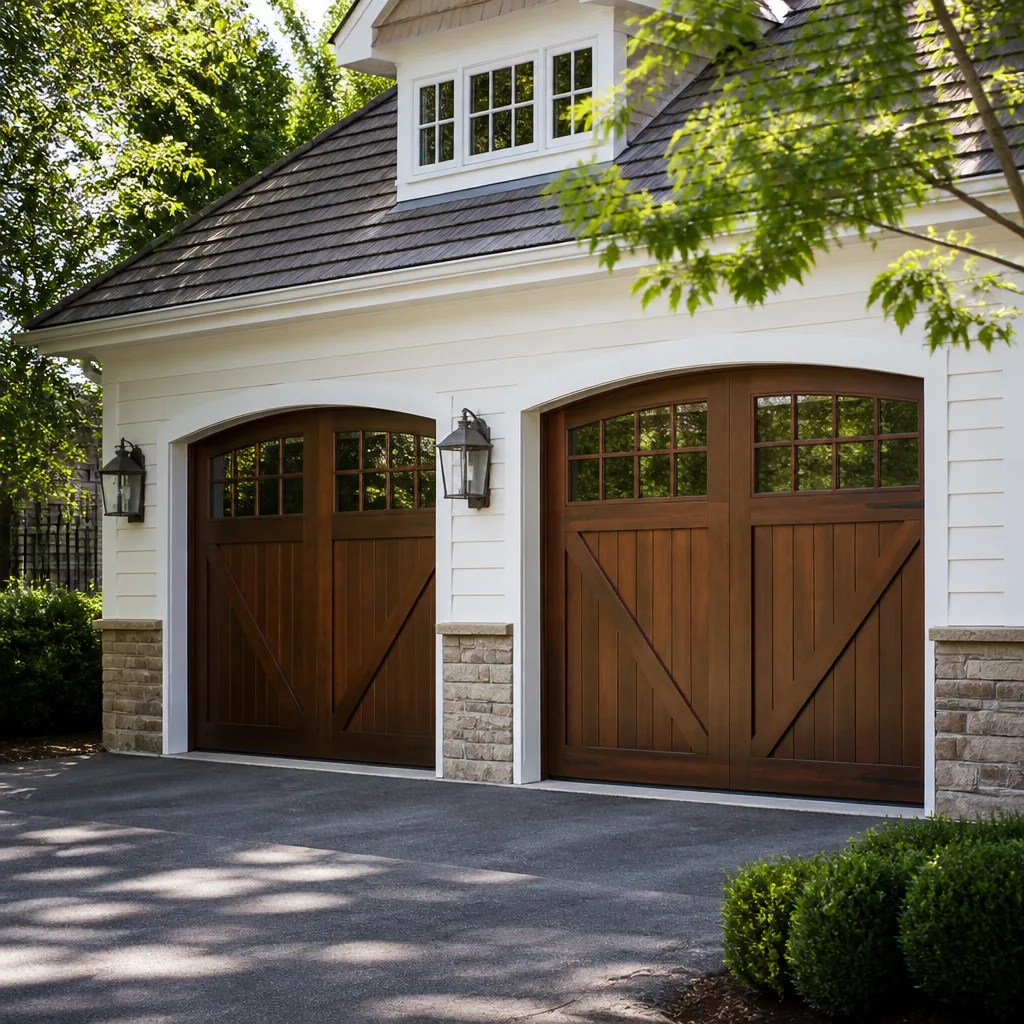 Carriage house
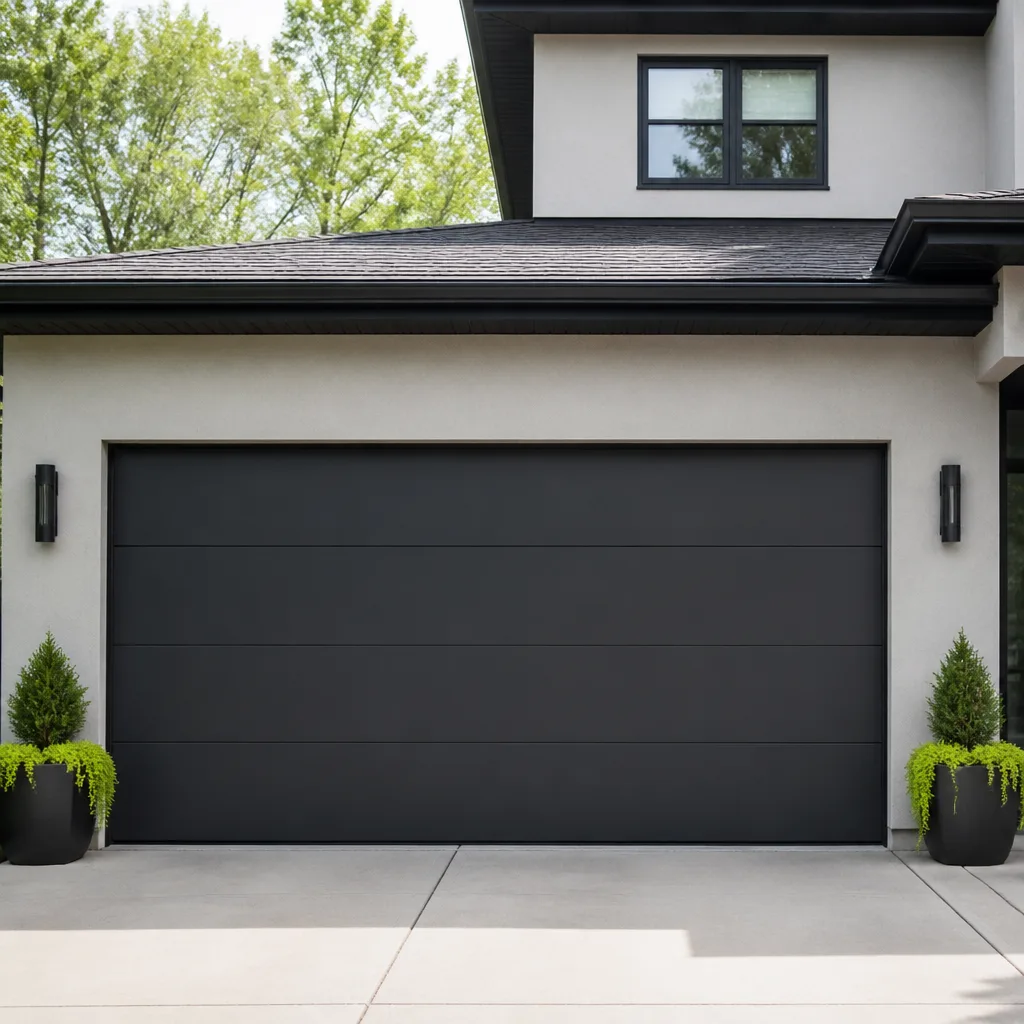 Modern flush
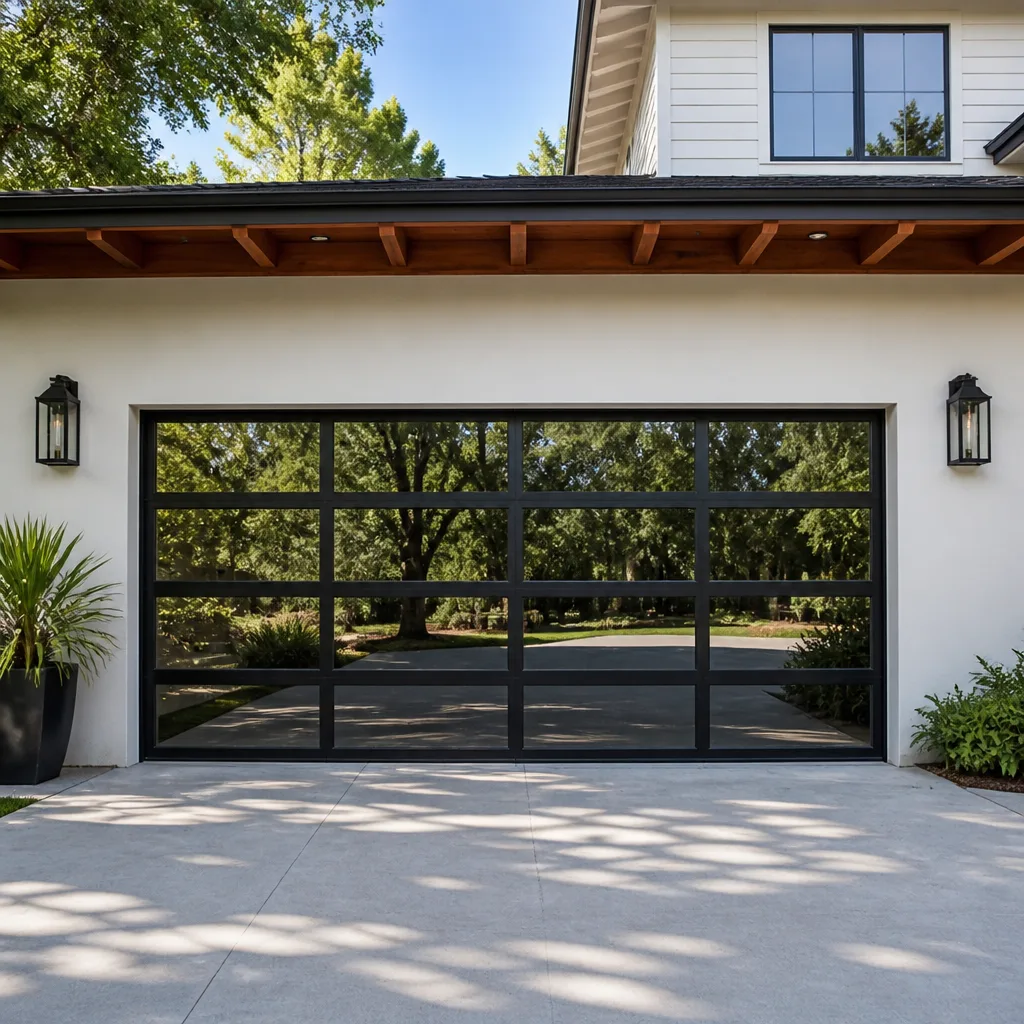 Full-view glass
 LiftMaster openers
 Chamberlain openers
Full 25-point door and opener safety check with every visit - springs, cables, rollers, tracks, and your LiftMaster or Chamberlain opener included
You get a price before we start. It does not change when the pro arrives.
Get your free estimateGarage Door Repair Troubleshooting in Mount Greenwood: Common Problems and How to Fix Them
Most garage door advice starts with a list of parts: springs, cables, rollers, tracks, hinges, opener. That list is almost useless when your door is stuck half open and you’re trying to get out of the driveway before work. Here’s the more useful way to think about it. Nearly every failure you’ll experience traces back to one of four systems – the springs, the cables, the rollers and hinges, or the opener’s logic board – and the specific behavior you’re seeing tells you which one is talking. Once you know that, you know whether you’re looking at a five-minute adjustment or a job that belongs to a trained technician. This guide maps symptoms to systems, shows you what’s safe to check from the ground, explains how to read the blink codes on a LiftMaster or Chamberlain motor unit, and adds the freeze-thaw context that matters specifically in Mount Greenwood. Our intent is to help you understand what your door is telling you before you call anyone.
Quick Answer
Most garage door problems in Mount Greenwood come down to a failing spring, a cable that’s slipped off its drum, worn rollers, or a misaligned safety sensor – and the symptom tells you which. A door that reverses immediately usually has a sensor or limit problem, one that stops at about six inches usually has a spring or torsion issue, and grinding or popping noises usually point to rollers, hinges, or a loosened torsion setup. Anything that involves the cables or springs calls for a trained technician; the safe homeowner checks are the sensor alignment, the manual balance test, and the blink code on the motor unit.
Styles & brands we work with
- Raised-panel steel
- Carriage house
- Modern flush
- Full-view glass
- LiftMaster openers
- Chamberlain openers
Table of Contents
- Symptom-to-System Mapping: What Your Door Is Telling You
- The Torsion Spring Tension Test You Can Do From the Ground
- Reading Blink Codes on LiftMaster and Chamberlain Openers
- Why a Door That Works Manually but Struggles on the Opener Means Balance, Not the Opener
- How Chicago Freeze-Thaw Cycles Stress Mount Greenwood Doors
- Rollers, Hinges, and Tracks: The Wear Items You Can Actually See
- Running the Manual Balance Test Safely
- What You Should Never Adjust Yourself
Symptom-to-System Mapping: What Your Door Is Telling You
A garage door doesn’t fail silently. It gives you a behavior, and that behavior points at a system. The trick is to stop listening to the noise as a whole and start matching it to the parts that produce it. Here’s the mapping we use when diagnosing a door in Mount Greenwood.
- Door stops about six inches off the floor and won’t go further: Almost always a spring problem. A broken torsion spring or a snapped extension spring means the opener is trying to lift a door with no counterbalance, and the opener’s safety system cuts it off. Do not keep pressing the button; you’ll burn through the opener’s gear and limit switch next.
- Door goes down a few inches, then reverses back up: Usually the safety sensor. The photo-eye near the floor has been knocked out of alignment, has dust or a spider web in front of it, or the wiring to it has come loose. On some openers it’s the down-limit setting instead.
- Door reverses only sometimes, with no pattern: Often a sensor with intermittent contact, or a logic board issue. It can also be a door binding in the track, which trips the opener’s force sensor sporadically.
- Grinding noise while opening: Rollers. A seized steel roller grinds against the track instead of rolling. It’s a cheap part and an easy replacement.
- Loud popping or snapping sound once or twice per cycle: Torsion hardware. Could be a slipping cable on the drum, a loosened set screw, or the very early stage of spring failure. This one warrants a professional look.
- Door works fine manually but struggles on the opener: Balance problem, not an opener problem. Covered in its own section below.
- Door is crooked – one side up, one side down: Cable. A cable has jumped its drum or stretched. This is a stop-and-call situation.
The important thing is to describe the behavior accurately when you call. “It stops at six inches and hums” tells a technician more than “it’s broken.” Getting that detail right shortens the conversation and gets you to a fix faster. If you’ve matched the symptom to the system and it’s a repair job, our Garage Door Repair Mount Greenwood page covers the full repair menu. But before you call, run the two safe checks below.
The Torsion Spring Tension Test You Can Do From the Ground
The torsion spring is the single most important part on your door, and it’s also the part you should be most careful with. It’s a coiled steel spring under high tension, mounted on a shaft above the door, and it stores the energy that lifts the door. Most of what’s written about tension tests online pushes homeowners to touch the spring, tighten set screws, or “wind it a few turns.” Do not do any of that. The safe check is done entirely from the ground, with the door closed, and it tells you what you need to know without ever putting your hands near the winding cones.
- Close the door and disconnect the opener using the emergency release cord so the door is on manual control.
- Stand in front of the door at arm’s length and look at the torsion spring on its shaft above the opening. Look for a visible gap – a broken spring usually shows as a clean separation somewhere along its length. See a gap? The spring is broken. Stop here.
- If the spring looks intact, lift the door by hand from the bottom edge. A balanced door with a healthy spring should lift with moderate effort and stay put when you let go at chest height. If it takes two hands and your back, the spring has lost tension.
- Lower the door slowly and reconnect the opener.
What you must not do: touch the winding cones, loosen the set screws, try to wind the spring, or put any tool near it. That’s the line. Everything past that point requires specialized training and specific tools, and the failure mode for getting it wrong is hospitalization. In our experience, the most common mistake is a homeowner who reads halfway through a tutorial and thinks “how hard can it be?” It’s hard, it’s dangerous, and garage door repair teams treat spring work as its own discipline for a reason. Spring repair is a core service at Garage Door Repair Mount Greenwood, not a referral out, and that matters when a door needs to be back in service same-day.
Reading Blink Codes on LiftMaster and Chamberlain Openers
If your door is misbehaving but nothing is visibly broken, the next thing to check is the motor unit itself. Almost every modern opener tells you what it thinks is wrong by blinking an LED on the back panel. The two most common residential systems we service in Mount Greenwood are LiftMaster and Chamberlain, and they share the same code family because they’re built on the same platform. Genie and Raynor systems have their own code patterns, which is part of why brand-specific diagnostics saves time.
- Find the LED on the back of the motor unit. On most LiftMaster and Chamberlain models there are two – one for the diagnostic code and one for the safety-reversing system.
- Count the flashes in a cycle. The opener will blink a set pattern, pause, then repeat. The number of flashes and the color of the LED together point at a specific fault.
- Common patterns to know: a small count of flashes usually means the safety sensor isn’t communicating (look for a wiring issue or a bad sensor). A higher count often means the travel limit or force setting needs adjustment. A different pattern means the door is binding, and the opener has been tripping its own force-detect circuit.
- Write down the number and the color, then match it to the code chart in your opener’s manual, or call us with the count and the model number. It’s often faster to describe the code to someone who works on these units daily.
What you’ll typically find is that the code isn’t really about the opener. It’s the opener complaining about the door. Most of the codes we see translate to “the door isn’t moving the way I expect,” which sends the diagnosis back to springs, rollers, tracks, or balance. That’s exactly the reason an opener repair should never default to “replace the whole unit.” The motor is fine; the door is telling it something. This is the thinking behind our garage door opener repair service – diagnose the system, not just the box.
Why a Door That Works Manually but Struggles on the Opener Means Balance, Not the Opener
This is the single most misdiagnosed garage door problem we see. The homeowner notices the door hesitates on the opener, hears the motor strain, and concludes the opener is dying. They replace the opener, and the new unit strains in exactly the same way. Why? Because the opener isn’t designed to lift the weight of the door. It’s designed to lift whatever fraction of the door’s weight the springs haven’t already counterbalanced. A well-balanced door feels nearly weightless when disconnected from the opener, and the opener only has to overcome friction and inertia. A door with tired springs feels like a boulder, and no opener ever sold will make that feel right.
The test is simple: disconnect the door from the opener using the release cord and lift it by hand. If it feels light and stays where you leave it, the door is balanced and the opener’s resistance is coming from elsewhere – usually a damaged roller, a bent track, or a bad logic board. If it takes real effort to lift, the springs are the problem, and the opener is just telling you so.
This is also why we push for restoring the door you have rather than replacing it prematurely. The door panel, tracks, and hinges on a Mount Greenwood door that’s ten or fifteen years old are usually perfectly serviceable. Changing a spring and a set of rollers brings back the original performance at a fraction of the cost of a new door. When a door does need replacement – because the panels are damaged, the hardware is obsolete, or the homeowner wants a different look – that’s a different conversation, and our garage door installation page walks through how that job runs.
How Chicago Freeze-Thaw Cycles Stress Mount Greenwood Doors
Mount Greenwood sits on the Southwest Side of Chicago, which means it runs through the full Midwestern freeze-thaw cycle: repeated days near freezing and nights below it, through roughly half the year. That’s a different stress profile from a milder climate, and it changes which failures show up first. A door that would last ten years on the West Coast may need a bottom seal replacement every couple of seasons here, and a track that never shows a symptom in San Diego can bend out of alignment in Mount Greenwood after one hard winter.
What the local weather does to your door, in order of how often we see it:
- Bottom seal wear. The rubber or vinyl seal along the bottom edge takes the most abuse. Water freezes in the channel beneath it, expands, and pushes the seal out of its retainer. Then it cracks. A cracked seal lets cold air and water into the garage, which leads to the next problem.
- Cable and drum binding. Moisture works into the cable, and then a freeze sets the drum tight. When the opener lifts the door, the cable rides up or binds instead of winding smoothly. A bound cable is a stop-and-call item – do not force the door.
- Metal track expansion and shift. The steel track and its brackets expand in summer and contract in winter. Over enough cycles, a bracket comes loose or a track shifts a fraction of an inch out of plumb. That misalignment causes rollers to bind and grind, which accelerates wear on every other part.
- Spring fatigue on the cold-cycle side. Steel springs lose tension faster in a climate with wide temperature swings than in a mild one, simply because the metal is worked harder across the year. Spring tension checks in the fall are worth doing before the first hard freeze.
- Panel and hinge stress. Panels expand and contract at different rates from the steel hinges attached to them, which works the hinge screws loose over time. A quick visual check of the hinge screws each fall catches this before it turns into panel damage.
None of this is a reason to panic. It’s a reason to know what to look for. A quick walk-around once a season catches most of it, and Mount Greenwood doors respond to winter maintenance the same way the rest of the city does – with a little attention up front and a lot fewer emergency calls when the temperature drops.
Rollers, Hinges, and Tracks: The Wear Items You Can Actually See
While spring and cable work belong to a technician, rollers and hinges are the parts you can reasonably inspect and track. They’re also the source of most of the noise complaints we hear, and they’re cheap to replace. Get to know them and you’ll catch problems long before they strand your car in the garage.
Rollers come in two main types: steel and nylon. Steel rollers are durable but loud when they wear – the grinding you hear on a door that hasn’t been serviced in years is usually a steel roller that’s lost its bearing and is now skidding along the track. Nylon rollers run quieter but can develop flat spots. Both wear out; both are inexpensive parts. A set of new rollers is one of the best values in garage door maintenance.
Hinges connect the door panels to each other. They live under load every time the door moves, and they’re exposed to the weather on the outside of the door. The pivot points wear, and the screws that hold them to the panels work loose over time from the panel expansion and contraction mentioned above. A hinge that’s lost its screw allows the panel to shift, which throws the door slightly out of alignment and adds binding load to the opener.
Tracks are the scaffolding the rollers ride in. They bend easily from a bump – pulling out of the garage at an angle, a bicycle handlebar clipping the edge – and a bent track causes the door to bind even if every other part is fine. A vertical track that’s out of plumb will wear rollers along one edge. A horizontal track that’s pinched will tear up rollers fast.
The visual inspection is simple: with the door closed, look at each roller in its hinge and check for flat spots, rust, or a wobble. Look at each hinge for a missing screw or excessive play. Look at the tracks for visible bends, out-of-plumb verticals, and dents where a roller has been forced through. Fixing what you find in this category ranges from a screwdriver to a new set of rollers, and none of it crosses into the danger zone.
Running the Manual Balance Test Safely
The balance test is the single most informative safe check you can run on your own door, and it takes about thirty seconds. It tells you whether the springs are doing their job, which in turn tells you whether a struggling opener is a balance problem or a hardware problem.
- Make sure the door is fully closed and no one is in the door’s path.
- Pull the emergency release cord – usually hanging from the opener trolley – to disconnect the door from the opener. The door is now on manual control.
- Lift the door by hand from the bottom edge, steadily and to about waist height.
- Let go and step back. A balanced door stays where it is. A door that sags or drops is unbalanced.
- If the door stays put, lift it further, to about chest height, and let go again. It should still hold.
- Lower the door slowly to the closed position, then reconnect the opener by running it one cycle – the trolley will re-engage with the release arm.
What this test tells you is whether the springs are still counterbalancing the door’s weight. If the door drops when you let go, or if it takes a real effort to lift, the springs have lost tension or one is broken. Do not try to fix it. Do not attempt to wind the spring. Call a technician and get the spring service done. What you’ve learned is worth the call: you now know it’s not the opener.
If the door feels light but still hunts or hesitates when reconnected, the issue is elsewhere – rollers, tracks, or the opener’s travel limits. That narrows the diagnosis to a service call that’s shorter and cheaper than it would be starting from scratch.
What You Should Never Adjust Yourself
We’re a garage door specialist because some of this work requires it. Not to be dramatic – because the failure mode on the wrong parts of a garage door is a hospital visit, and because homeowners who call us after a self-repair attempt usually need more work done than the original problem would have required. Here’s where the line is.
- Torsion springs and their winding cones. The spring is under several hundred pounds of torque. It can release stored energy instantly if a winding cone is loosened or a set screw is stripped. Do not touch it.
- Extension springs and their safety cables. Older doors with extension springs – common on legacy Craftsman and Wayne Dalton hardware – have the spring running parallel to the track above the door. These can snap with significant force; the safety cable running through the middle of the spring is there for a reason and should never be removed.
- Cables and drums. A cable under tension, on its drum, is a serious hazard. Never try to re-seat a cable by hand or by force.
- The bottom bracket. The bracket at the bottom of the door on each side holds the cable and rides under constant tension while the door is closed. A bottom bracket that fails can send the cable snapping. Do not loosen or adjust it.
- Anything requiring you to stand in the door’s path. If you find yourself in the way of a door that could move, stop and call.
Everything else – rollers, hinges, sensor alignment, the manual balance check, reading the opener blink code, cleaning the photo-eye lenses – is safe to inspect and often safe to fix. The safe category is larger than most homeowners expect, and the unsafe category is more dangerous than they realize. Know which is which.
Common Mistakes to Avoid
- Pressing the opener button repeatedly when a door is stuck. If the door won’t move, pushing the button again doesn’t unstick it, and it does wear the opener’s motor and gear assembly. A door stuck due to a broken spring can cause real damage to the opener if the button is pressed several times.
- Assuming a struggling door needs a new opener. Nine times out of ten, the opener is telling you something about the door. Run the manual balance test before pricing a replacement – you’ll often find that restoring the door costs far less than a new motor and solves the problem faster.
- Ignoring the bottom seal through winter. In Mount Greenwood, a cracked bottom seal lets water freeze underneath the door, and repeated freezing widens the gap. A cheap seal replacement in the fall saves a bigger job in January.
- Using the emergency release as a “manual mode” permanently. The door isn’t designed to be moved by hand every day, and the springs stretch unevenly when it is. Reconnect the opener as soon as the balance check is done.
- Bending a track back by hand without checking alignment. A vertical track that “looks straight” can be out of plumb by a fraction of an inch and will wear rollers along one edge. The alignment matters more than the visual.
- Buying a replacement spring of the “same color” without checking the door’s weight. Spring tension is matched to the door’s weight and size, and getting it wrong wears out the opener and the spring faster. Spring selection is a technician’s call, not a color-matching exercise.
- Reading one blink code and stopping. The code is a starting point, not the diagnosis. A code that points at the safety sensor can actually be a wiring fault, a bad photo-eye, or a door that’s binding and tripping the force circuit. Look at the whole system.
See the difference
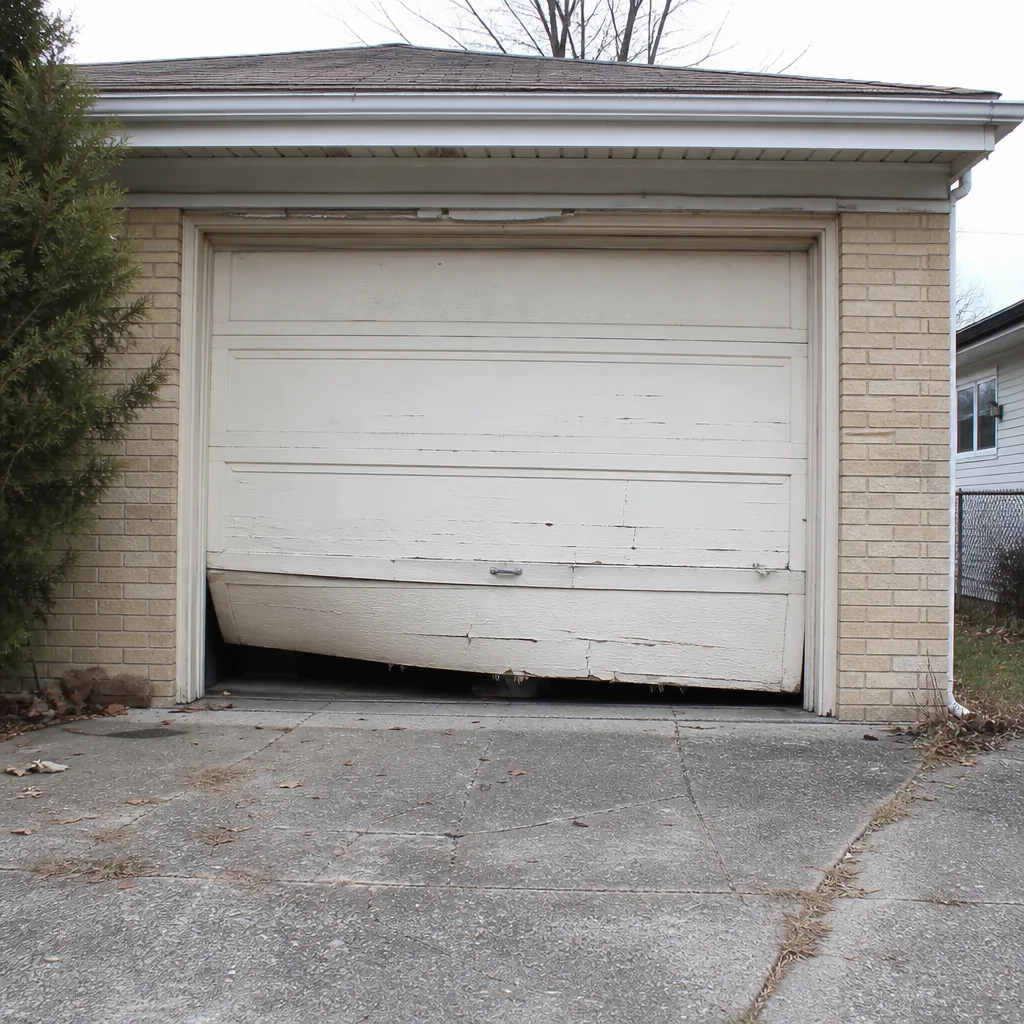 Before
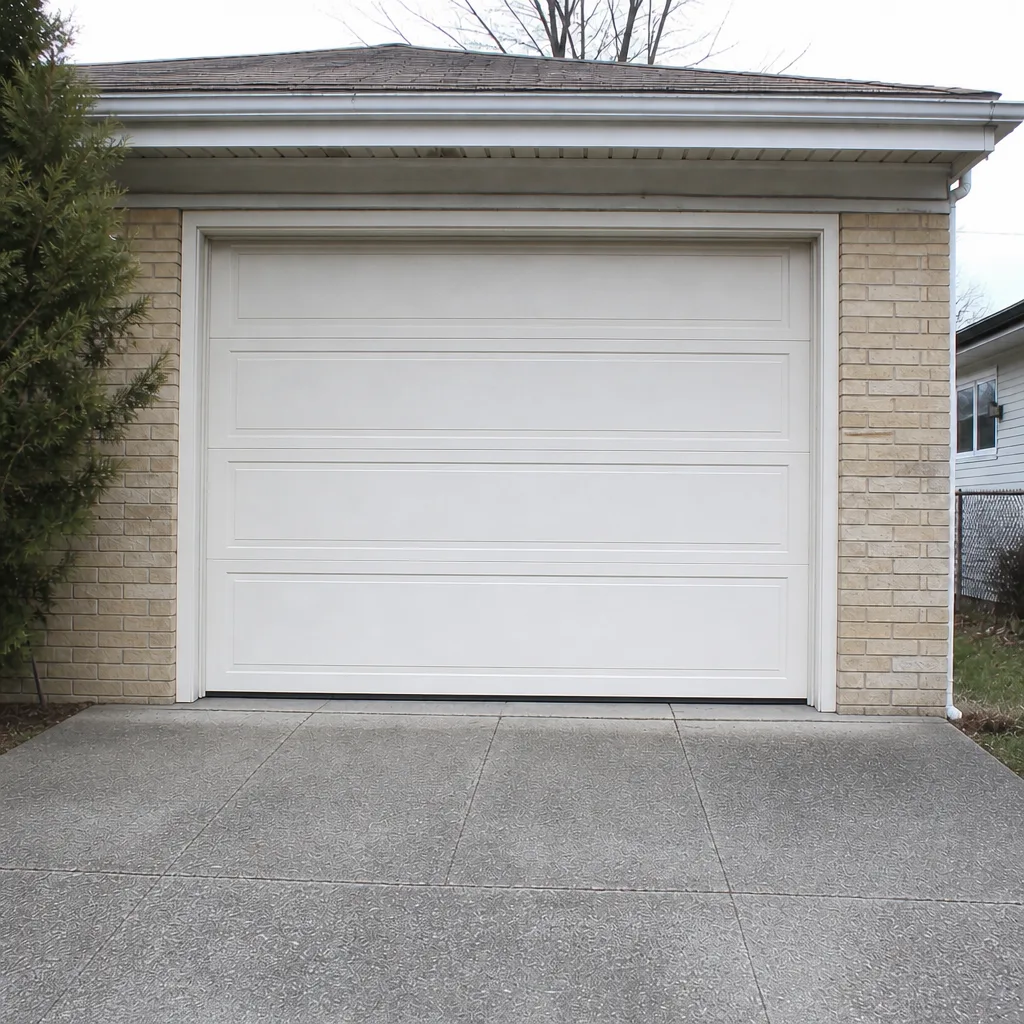 After
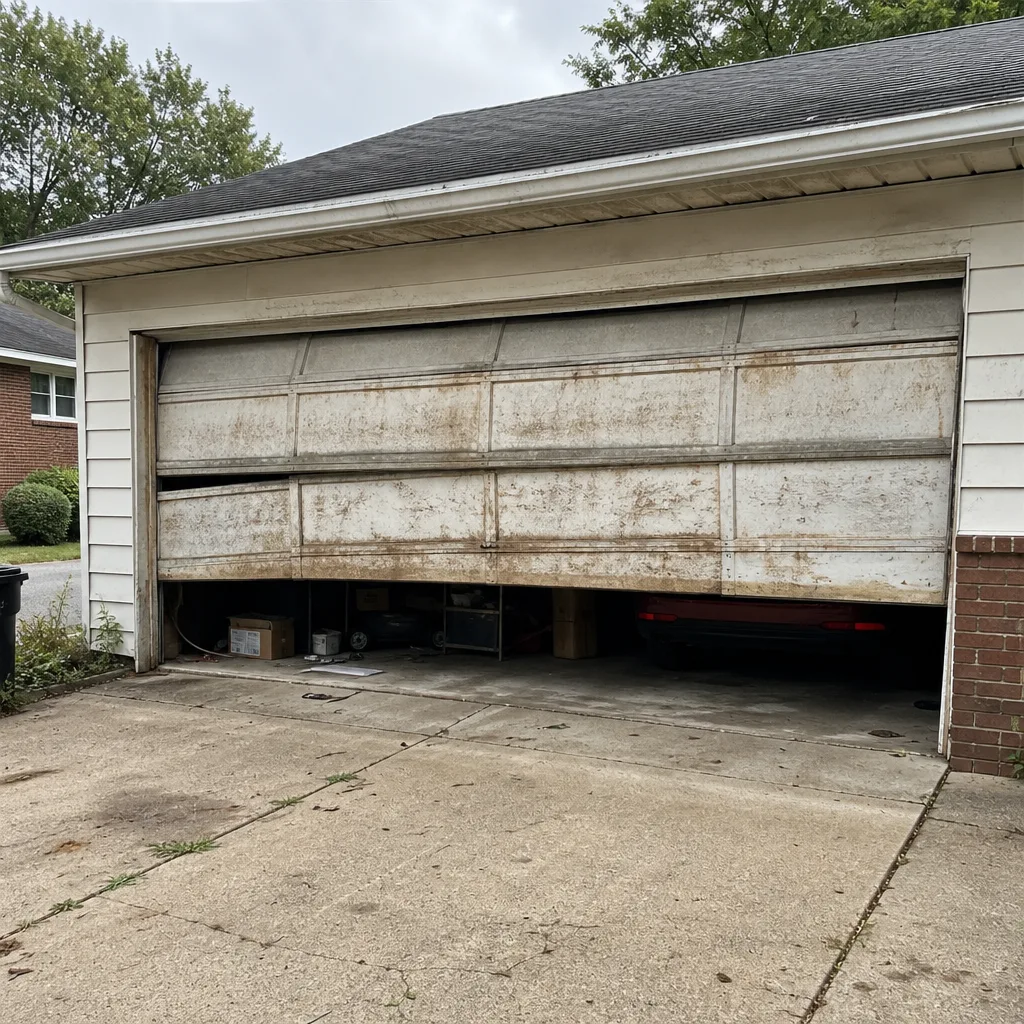 Before
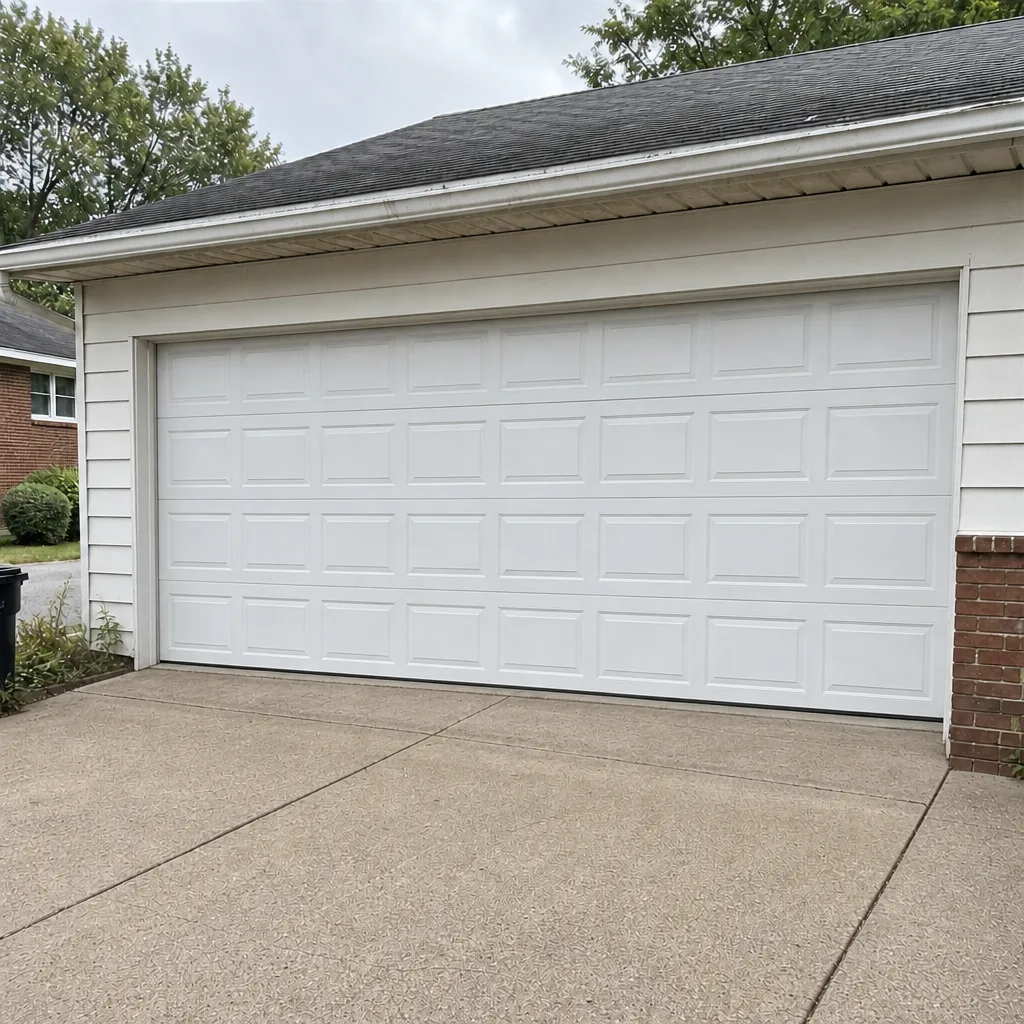 After
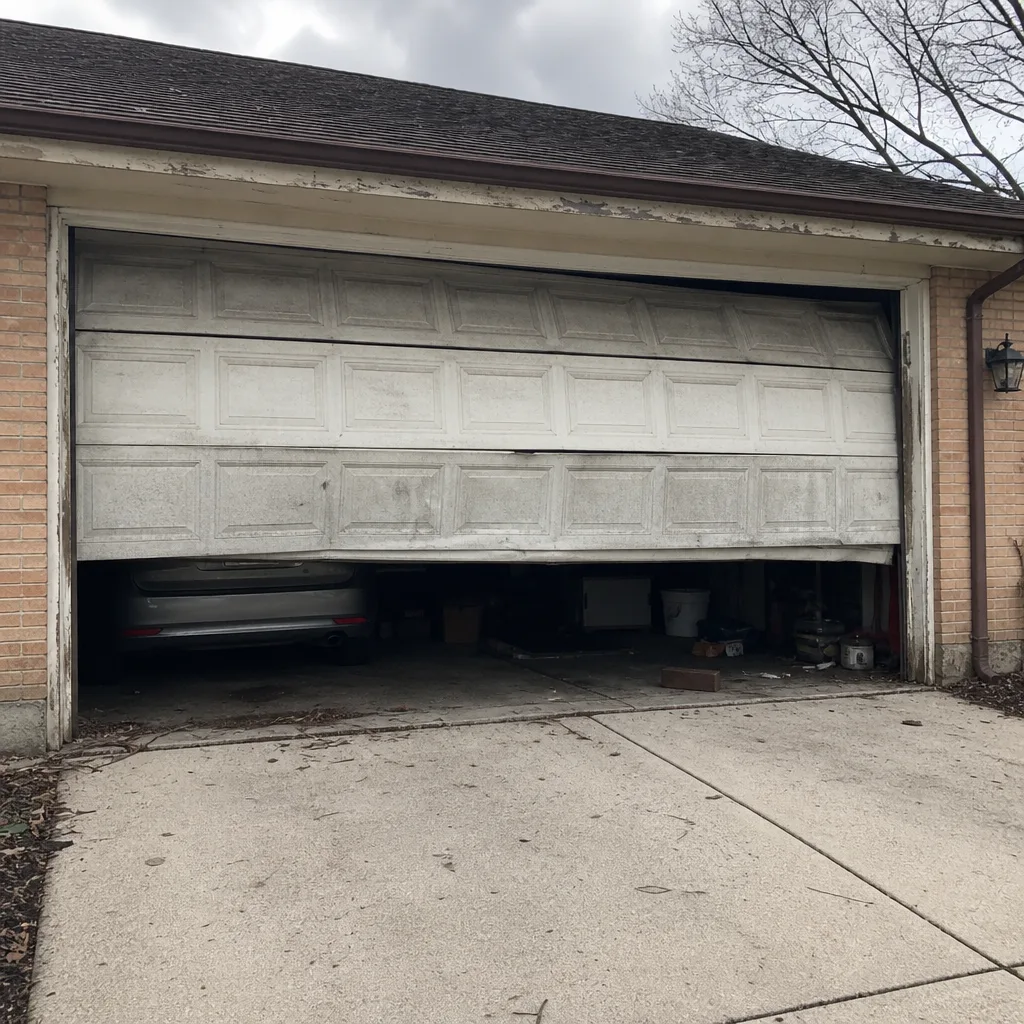 Before
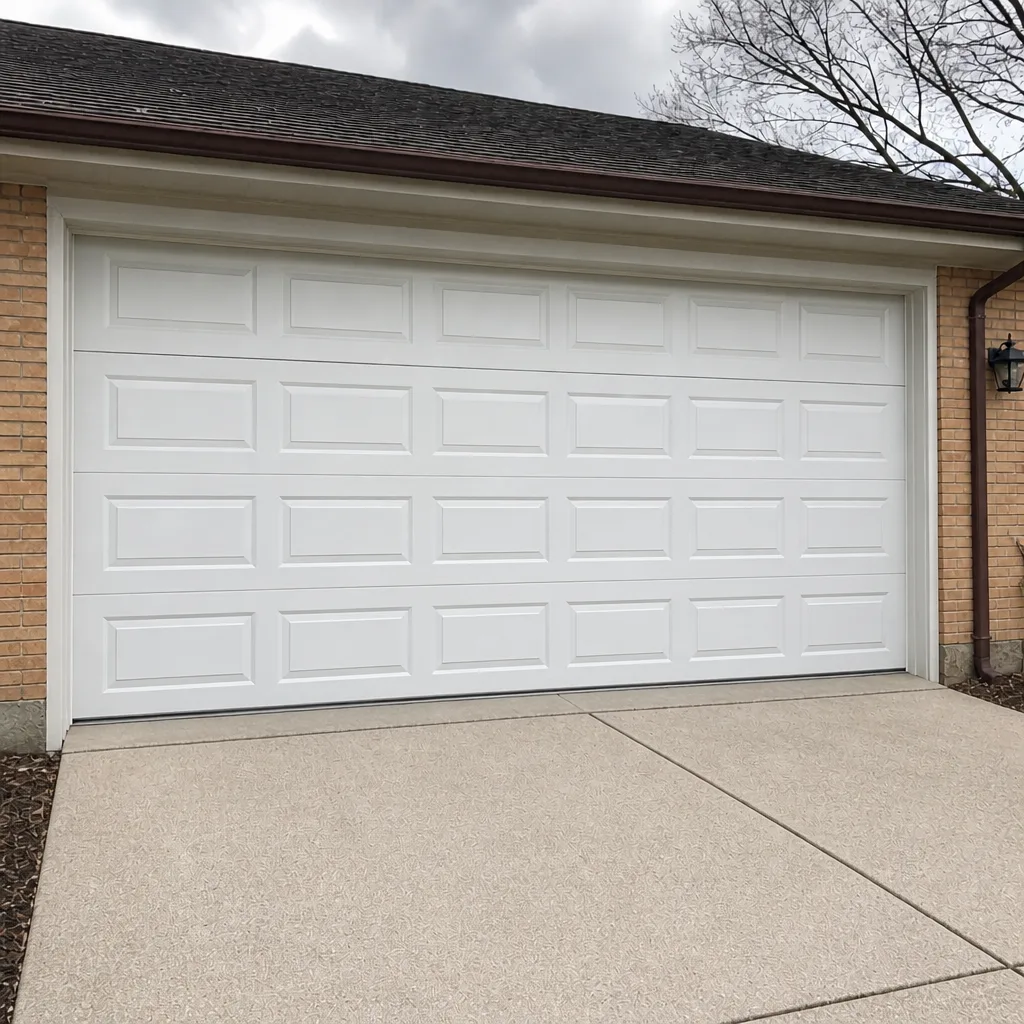 After
When to Call a Professional
Any problem that involves a spring, a cable, a drum, or the bottom bracket is a call-a-professional situation – no exceptions, no workarounds. Those components hold serious stored energy, and a homeowner attempting them risks injury and often creates a larger repair bill than the original problem would have. A door that’s visibly crooked, one that’s crashed down under its own weight, or an opener that’s been disabled by repeated pressing is also a technician’s job. Same for anything requiring spring replacement, even if the door still moves by hand. What you can reasonably do yourself is check sensors, replace rollers and hinges, run the balance test, and read the opener blink code. Past that point, call. Garage Door Repair Mount Greenwood offers free estimates in Mount Greenwood – call (855) 914-9447. Our technicians have up to 10 years of experience with the systems that show up in Mount Greenwood homes, including LiftMaster and Chamberlain openers, and the spring and cable work that many generalists won’t touch. We answer 24/7. Fast dispatch from 7am to 7pm, Sunday through Friday. The written estimate sets the price before any work starts.
Frequently Asked Questions
That behavior almost always means the torsion spring is broken or has lost enough tension that the opener can’t lift the door safely, so its internal force sensor shuts it down. Stop pressing the opener button – running the motor against a door with no spring support burns out the opener and gear assembly. The fix is spring replacement, which is a trained-technician job because the spring is under high tension. Call us at (855) 914-9447 with the model of your door and we can quote the job before we come out.
Almost never. A door that moves easily by hand but strains on the opener is usually telling you the springs have lost some tension, or that the door has a binding roller, hinge, or track. The opener isn’t designed to lift the full weight of the door – just the small fraction the springs haven’t already counterbalanced. Run the manual balance test described above; if the door drops when you let go or needs real effort to lift, it’s a spring or balance problem, not the motor. Our technicians have up to 10 years of experience diagnosing exactly this pattern.
The blink codes are your opener’s way of telling you what it thinks is wrong, and they’re different on every model family, but almost all of them point at the door rather than the motor. A small count of flashes usually means the safety sensor has lost contact – check the photo-eye near the floor, clean the lens, and inspect the wiring. A higher count usually means the travel limit or force setting needs adjustment, or the door is binding. Write down the count and the color of the LED, and call us with the model number if it’s faster than digging out the manual.
The local professionals we connect you with are licensed and insured as their state requires, and they work on the mechanical side of the door after being vetted for the kind of work they’ll be doing. Spring and cable work is safety-critical, and we take the vetting seriously. The estimate is free, and the price is set by a written quote before any work starts, so you know what the job costs before a technician touches anything.
Pricing is set per job by a written estimate because the range depends on what’s actually wrong – a set of rollers is a very different job from a spring replacement, which is a different job again from a cable. The estimate is free, and you get the number in writing before any work starts, so there’s no case where the invoice turns out to be larger than the quote. Call (855) 914-9447 for an exact quote on your door’s specific problem. Our technicians have up to 10 years of experience, and the diagnosis is often quicker than the drive out.
We answer 24/7 and dispatch technicians 7am-7pm, Sunday through Friday, and same-day repair is often available depending on the day’s schedule. If your door is stuck open or stuck closed and you need it working today, call us and we’ll tell you the soonest we can get out. A call outside dispatch hours is booked into the next opening, Sunday through Friday. We’re closed on Saturday.
Chicago’s freeze-thaw cycle is hard on garage door hardware. Repeated freezing widens the bottom seal, moisture works into the cable and drum, and the steel track and brackets shift slightly with each seasonal expansion and contraction. A door that felt fine in July often feels noticeably heavier in January, and that’s usually a sign that the spring tension has drifted or the rollers have started to bind. A fall check-up that includes a balance test and a seal inspection catches most of it before it becomes a repair.
No. Replacing a torsion spring requires specific tools (winding bars) and knowledge of how to safely manage the stored energy in a spring under tension, and the failure mode for getting it wrong is serious injury. Matching the spring size by color code isn’t enough – the tension has to be matched to the door’s weight, and an under- or over-tensioned spring damages the opener and the door. Spring repair is a service that belongs with a trained specialist, which is why we offer it as a core service rather than sending it out.
The Bottom Line
Nearly everything that goes wrong with a garage door traces back to one of four systems – springs, cables, rollers, or the opener’s logic board – and the specific way your door is misbehaving tells you which one. A door that stops at six inches has a spring problem, one that reverses immediately has a sensor problem, one that grinds has a roller problem, and one that works manually but struggles on the opener almost always has a balance problem the opener is only reporting. The safe checks are the sensor alignment, the manual balance test, the visual roller and hinge inspection, and the opener blink code. Springs, cables, and bottom brackets are the line. Past that line, call. Our technicians have up to 10 years of experience with the systems in Mount Greenwood homes, and we treat every estimate as a written quote before any work starts. Parts are sourced, not improvised, so a fix that depends on a common component often happens the same day.
Call (855) 914-9447 for a free estimate. We answer 24/7. Fast dispatch from 7am to 7pm, Sunday through Friday.
Written by the team at Garage Door Repair Mount Greenwood.